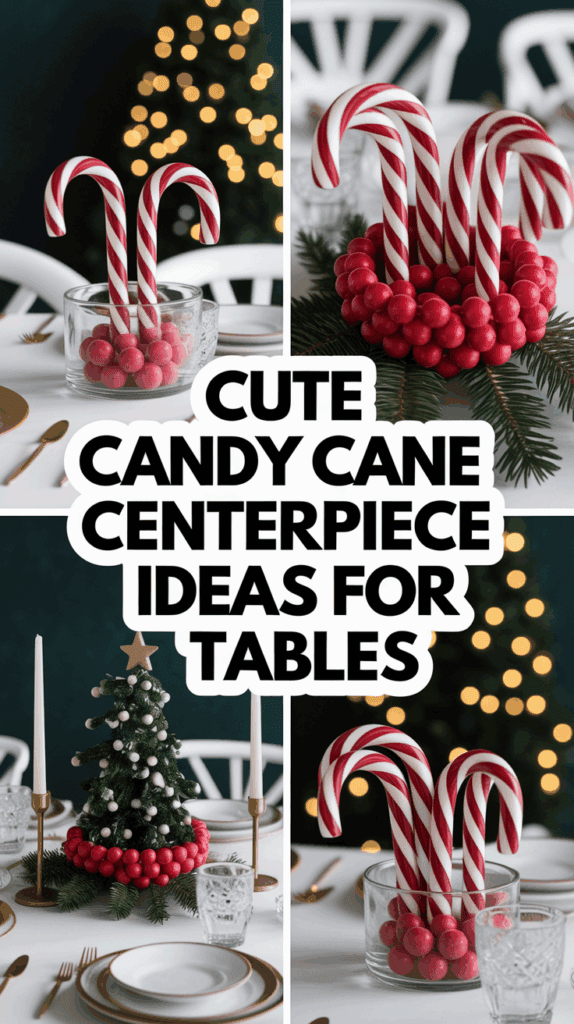
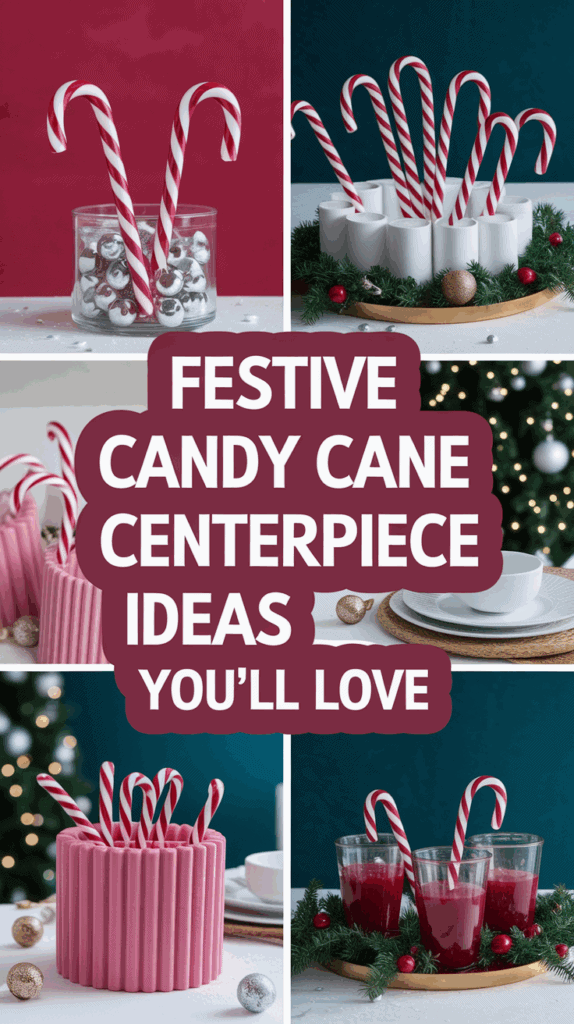
Super Cute Candy Cane Centerpiece Ideas To Try This Season
Looking for candy cane centerpiece ideas that are cute, quick, and kid approved? I’m a mom of three wild and sweet boys, and we make these after homework with hot cocoa on the table. They’re simple, budget friendly, and you can pull most together with things you already have at home.
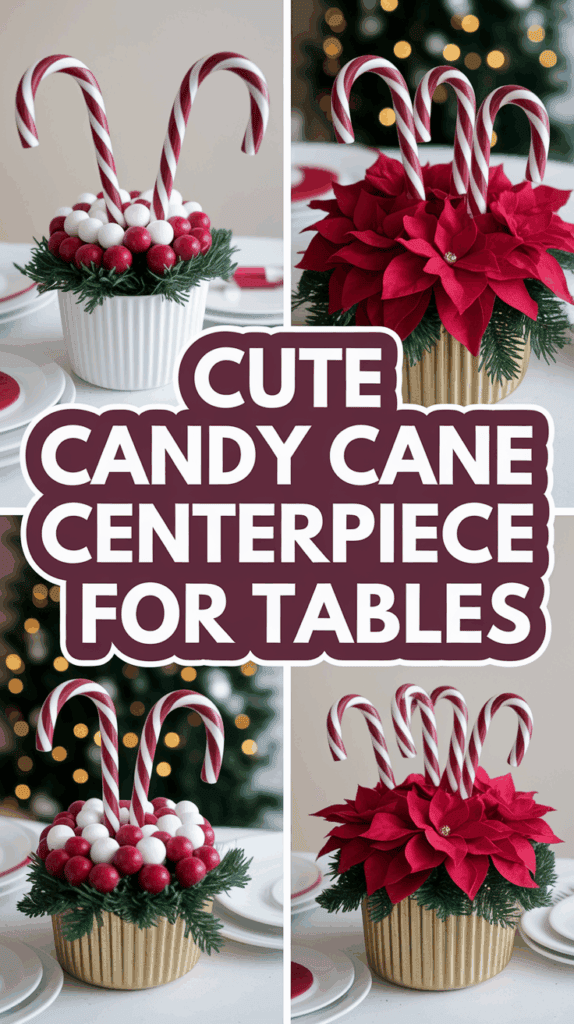
I used this candy cane centerpiece kit — it’s festive, easy, and looks like something straight off Pinterest.
In this post, I’ll show you easy candy cane centerpieces that take 5 to 20 minutes, cost about 5 to 10 dollars, and look so festive. Kids can help with safe steps, like unwrapping canes, sorting sizes, and choosing ribbon colors. I’ll share ways to use jars, mugs, and leftover ribbon for candy cane table decor, plus a few holiday centerpiece ideas that double as take-home treats.
Get ready for sweet, no-stress projects you can set up fast. I love to keep it simple, which is hard to believe with three helpers, but it works. Grab a bowl, a few canes, and a little greenery, then you’re halfway there. Let’s make your table feel cozy, playful, and ready for twinkle lights!
Quick and Easy Centerpieces Busy Moms Can Make Tonight

I love simple wins on busy nights, and these are my go-tos for holiday sparkle. If you need candy cane centerpiece ideas you can make in minutes, you’re in the right spot. My boys help grab jars, count canes, and pick ribbon, which makes it fun and fast.
Each idea takes 5 to 15 minutes. Most use things you already have. I keep wrappers on, tie a quick bow, then let the twinkle do the rest. Ready to set the table tonight?
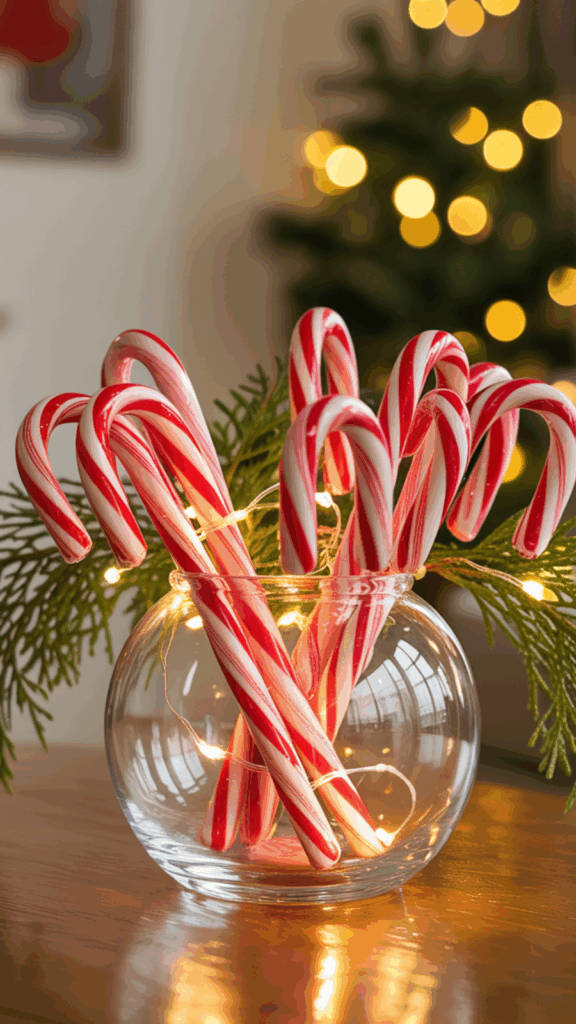
Mason Jar Candy Cane Bundle with Ribbon and Greens

This looks classic and cute, and it’s so easy. I set up a little assembly line on the counter, and the boys pop canes in while I fluff the greens.
- Materials: wide-mouth mason jar, wrapped candy canes, a handful of faux or real greens, ribbon, optional fairy lights.
- Steps:
- Stand the candy canes upright in the jar, hooks facing out.
- Tuck greens around the edges to fill gaps and hide stems.
- Tie ribbon around the neck of the jar, knot or bow.
- Add fairy lights inside the jar if you like.
- Styling: Match the ribbon to your runner or napkins for a pulled-together look. Use 1 to 3 jars down the center of the table for balance. Vary heights with books under a runner for a little lift.
- Tip: Keep canes wrapped so they stay shiny and not sticky. If a wrapper peeks out, fold it neatly at the bottom.
I like to mix eucalyptus with a pop of cedar. It smells like a tree farm, even with faux greens nearby. Cozy and pretty.
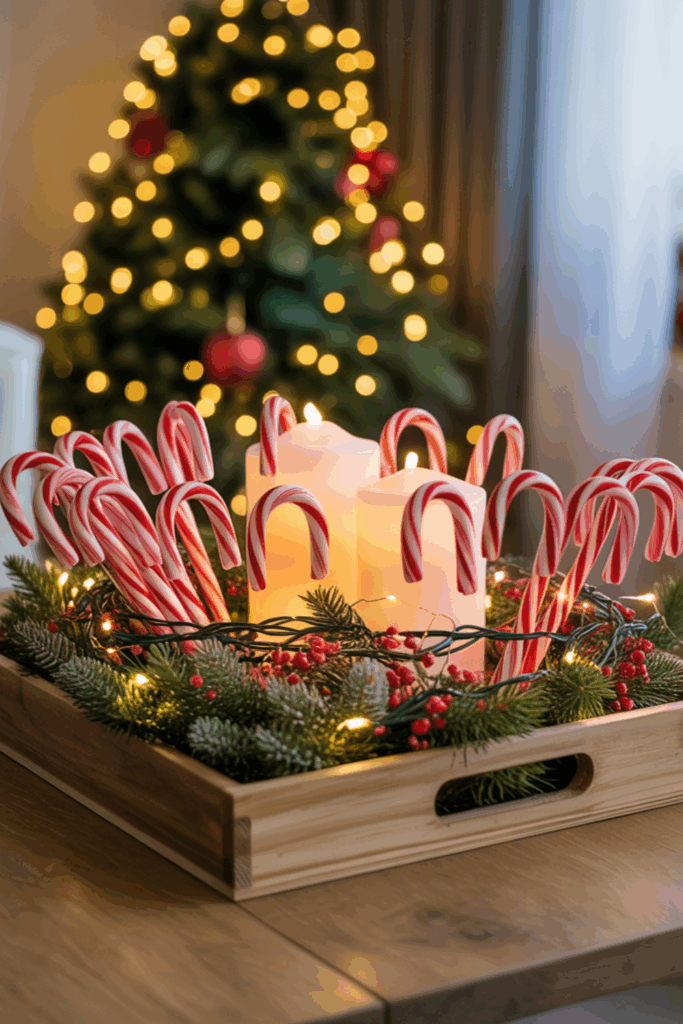
Simple Candle Ring with Candy Canes and Cranberries
This one feels fancy with almost no effort. The cranberries look like little jewels around the candle, and the canes add whimsy.
- Materials: pillar candle in a glass hurricane, candy canes, fresh or faux cranberries, small plate or charger.
- Steps:
- Set the hurricane and candle in the center of your plate.
- Create a ring of candy canes around the base, hooks facing out.
- Pour cranberries to fill the gaps, all the way around the canes.
- Safety: Only use a real flame if the candle sits inside a tall glass and the canes are outside the glass. Keep the wick trimmed short. Never leave it unattended.
- Swap: Use LED candles for zero stress with kids and pets. I pop the LED on a timer so it turns on right before dinner.
For color, I like classic red cranberries, but sugared faux berries sparkle too. It photographs like a dream and feels very festive.
Mini Mug Place Settings Kids Can Take Home
These double as place cards and favors. The boys help tie tags, and then they carry mugs to each plate at dinner. It’s a small touch that feels thoughtful.
- Materials: mini holiday mugs, 2 to 3 canes each, a hot cocoa packet, a name tag.
- Steps:
- Tuck a cocoa packet into each mug first, label facing out.
- Add 2 or 3 canes per mug so they peek over the rim.
- Tie on a name tag with twine or thin ribbon.
- Use: Line them down the table runner for the centerpiece. At mealtime, move one to each plate as a place setting.
- Tip: This doubles as a party favor for friends or cousins. Add mini marshmallows in a bag if you want an extra treat.
Want a quick style boost? Mix patterns. Stripes, polka dots, and plaid look fun together. Keep the colors tight, like red, white, and a little green.
Store-Bought Shortcuts with Zero Crafting
If you have five minutes, this is it. No glue. No fuss. Just a few store finds and done.
- Grab-and-go: premade bow, faux greenery picks, battery tea lights, and a clear vase.
- Steps:
- Fill a tall vase with wrapped candy canes.
- Nest a tea light on top using a small saucer or jar lid.
- Clip on a bow near the rim, then tuck in a greenery pick.
- Time: 5 minutes. Cost: low, especially if you reuse the vase and bow.
- Tip: Use a tall vase so little hands cannot reach the light easily. If your vase is extra wide, add a smaller glass inside to hold the tea light steady.
I keep a bin of bows and picks in the pantry. It saves me every December. Mix and match, then call it done. Your table will look pulled together in no time!
Showstopping Party Centerpieces That Wow in Photos
When I want a table that makes everyone stop and smile, I reach for height, layers, and a little sparkle. These are the party-ready builds I use for birthdays, cookie swaps, and church potlucks. They photograph beautifully and still hold up to busy kids. If you’ve tried a few candy cane centerpiece ideas already, these take it up a notch without stressing your schedule.
Candy Cane Vase Wrapped Around a Can
This trick looks expensive, but it is pantry simple. I keep cans, ribbon scraps, and a grocery bouquet on hand. Five minutes later, I have a clean, graphic vase that pops in photos.
- Materials: empty soup can, hot glue or glue dots, candy canes, wide ribbon, flowers or faux greens.
- Steps:
- Stand the candy canes upright around the can, hooks all facing the same direction.
- Use small dots of low-temp glue or glue dots to secure each cane to the can.
- Wrap a wide ribbon around the middle, tie a tight bow or simple knot.
- Slip a small jar or cup of water inside the can to protect the glue.
- Add flowers, cedar sprigs, or eucalyptus.
- Photo tip: Shoot from eye level so the stripes read crisp and bold.
- Safety: If kids help, use low-temp glue or glue dots. I hold the can, they press the canes.
Style helpers I love:
- Color harmony: Match ribbon to your runner, then add one contrast, like a blush bow with deep green greens.
- Finish: Keep canes wrapped so they stay shiny. Trim wrapper ends even with scissors.
Candy Cane Topiary Cone for a Tall Table Moment
This is my go-to when the table needs height. It feels grand, but it is easy. The shape leads the eye up, which makes the whole spread look styled.
- Materials: foam cone, toothpicks or low-temp glue, mini canes, star topper, cake stand.
- Steps:
- Start at the base of the cone. Press a mini cane in with a toothpick or dot of low-temp glue.
- Spiral mini canes upward, keeping the spacing even.
- Add a star topper at the tip for a clean finish.
- Set the cone on a cake stand for instant height.
- Balance: Anchor the look with two small jars of greens on either side. It frames the centerpiece and keeps the table from feeling top heavy.
- Storage: Wrap the cone in tissue, stand it upright in a box, and store in a cool spot.
Quick wins:
- Uniform spacing: Use your pinky width as a spacer as you spiral up.
- Stand security: Add a small circle of museum putty between the cone and stand.
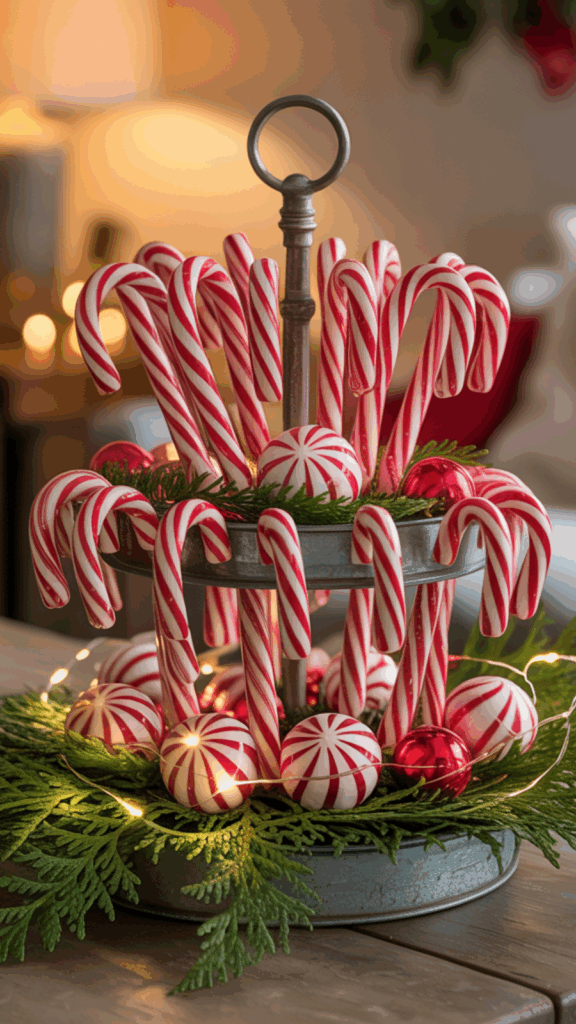
Tiered Tray Candy Village with Bottle Brush Trees
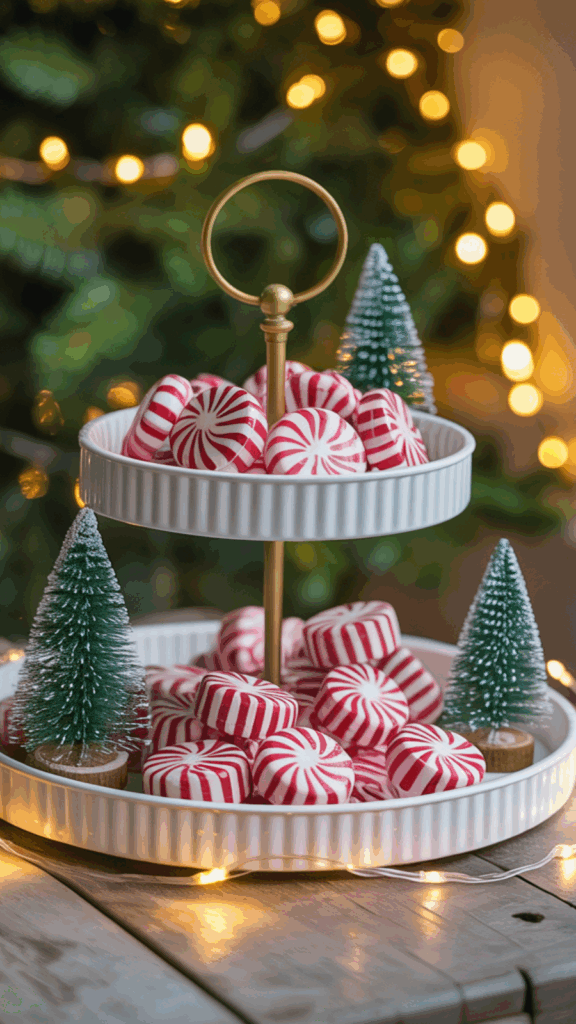
This one is playful and photogenic. The layers tell a story, which kids love. I set it on the island and let the boys place the “street lamps,” which are the canes.
- Materials: tiered tray, bottle brush trees, wrapped canes, mini houses or ceramic cottages, faux snow.
- Steps:
- Sprinkle a thin layer of faux snow on each tier.
- Place houses and trees, largest items on the bottom tier, smaller on top.
- Lean wrapped canes like street lamps at corners and beside doorways.
- Use: Perfect for a kitchen island or buffet, since it is vertical and easy to move.
- Photo tip: Put a tree on the front corner of the tray to add depth in photos.
Extra styling ideas:
- Pop of color: Add a few pastel trees for a candy-shop look.
- Glow: Tuck a battery tea light behind one house for a soft evening shine.
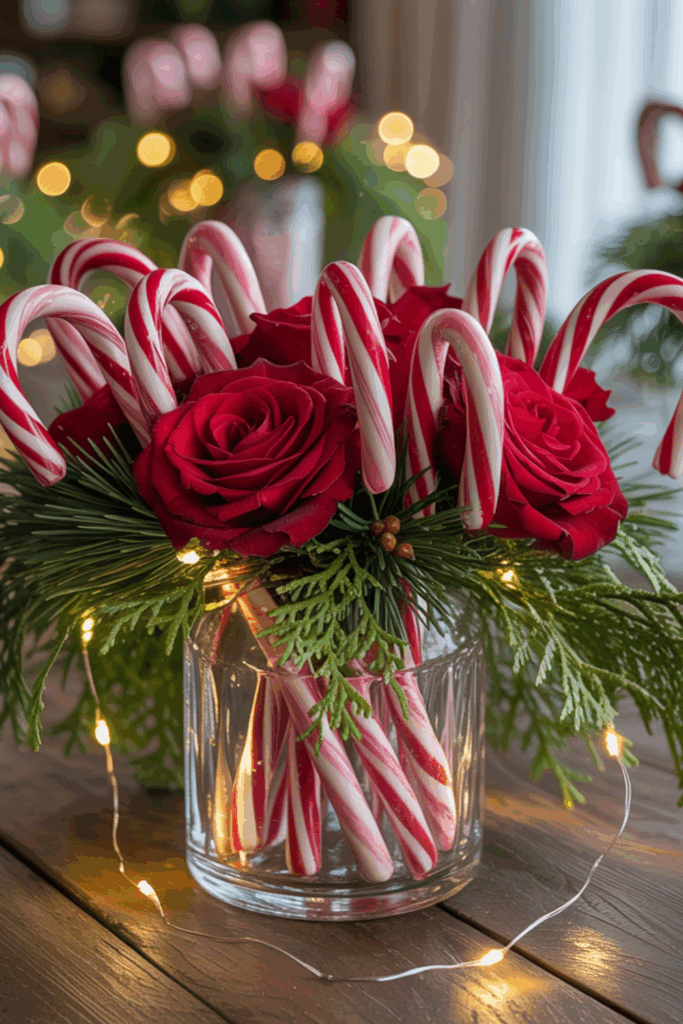
Tall Glass Vase with Floating Canes and Berries
This is a showpiece that looks luxe. The secret is a hidden inner vase, so the decor stays dry while your candle or greens sit safe in the center.
- Materials: tall cylinder vase, small inner vase or cup, water, faux cranberries, wrapped canes, floating candle if LED.
- Steps:
- Place the inner vase in the center of the tall vase.
- Fill the outer gap with wrapped canes and faux cranberries.
- Add water only to the outer space if you want a true float effect.
- Keep the inner vase dry for an LED floating candle or fresh greens.
- Safety: Use LED floating candles when kids are nearby. No drips, no worry.
- Styling: Tie a narrow velvet ribbon at the neck. One small bow is enough.
Pro tips:
- Clean lines: Alternate cane hooks facing up and down for a tidy pattern.
- Crisp water: If using water, change it before guests arrive so it is crystal clear.
These centerpieces create height, depth, and a strong focal point, which is why they shine in photos. I set one star piece in the middle, then support it with small, simple accents. It feels pulled together fast, and the kids love that they helped make the magic!
Kid-Friendly Crafts That Double as Decor and Favors

I love projects that keep little hands busy and also look cute on the table, which is why these kid-approved ideas are my favorite candy cane centerpiece ideas for busy nights! Everything here pulls double duty, decor for the party and a sweet favor to take home. My boys help with safe steps, and I handle the glue. Easy, quick, and full of cheer!
These ideas fit right into a family dinner or a cookie swap. I keep all the pieces in a basket, then set up a quick station on the counter. Ten minutes later, the table feels playful and polished. Ready for happy helpers and big smiles?
Heart-Shaped Candy Cane Name Card Holders
These little hearts look sweet at each plate, and kids can help assemble them. I set out a stack of tags, and my boys love writing names in their best “holiday handwriting.”
- Materials: 2 mini canes per heart, low-temp glue or clear tape, cardstock name tags, pen.
- Steps:
- Place two mini canes side by side, hooks facing each other.
- Stick them together at the top tips and the bottom hooks to form a heart. Use a tiny dab of low-temp glue or a small piece of tape.
- Write the name on a cardstock tag and slide it into the heart center.
- Use: Stand one at each place setting to guide guests to their seats. The hearts sit nicely on a flat plate or charger.
- Tip: Sprinkle a few extra heart holders down the runner as sweet fillers. Mix red and peppermint swirl canes for a fun pattern.
Make a few blank ones too. Late guest or extra cousin? You are ready.
Hot Cocoa Bar Tower with Canes as Stirrers
Nothing beats a cocoa station when cousins roll in hungry after sledding. This setup is tidy, cute, and easy for kids to use with a little help.
- Materials: cake stand or lazy Susan, mugs, cocoa packets, wrapped candy canes, mini marshmallows, sprinkles, small jars or bowls, a jar for stir sticks.
- Steps:
- Load the stand with mugs on the bottom, toppings in small bowls on the top.
- Stand wrapped canes upright in a jar for stir sticks.
- Set cocoa packets in a small basket or line them across the stand.
- Safety: Keep hot water in an insulated carafe, a foot or two away from little hands. I pour for the youngest kids and set a towel nearby for drips.
- Styling: Add a small chalkboard sign that says “Cocoa station.” A simple garland or ribbon bow on the handle of the carafe ties the look together.
Kids get to build their own cup, which is always a hit. Cleanup is fast too since everything stays on the stand.
Lego Base Candy Cane Forest My Boys Love
This centerpiece is pure kid joy. It looks like a tiny winter park, and after dinner, the kids can play. Win for them, win for us.
- Materials: green Lego base plate, 2×2 bricks, wrapped mini candy canes, tiny Lego trees or simple house builds, a few flat tiles for a path.
- Steps:
- Use 2×2 bricks to clip mini canes in place, hooks facing the “path.”
- Build simple trees with green bricks and stack a few blocks into small houses.
- Lay down a flat tile path that winds through the candy cane forest.
- Use: Set it in the center of the kids table. It looks festive during dinner, then becomes a play zone when plates clear.
- Tip: Take a quick photo before play time in case pieces wander. I keep a small zip bag next to the base for loose bricks.
Want extra sparkle? Sprinkle faux snow around the base plate, but keep it off the studs so builds stay sturdy.
Candy Cane Ornament Garland for the Chandelier
This garland is light, pretty, and fast to make. It dresses up the dining room and echoes the candy on the table for a pulled-together look.
- Materials: lightweight faux canes or mini wrapped canes, ribbon, mini ornaments, scissors.
- Steps:
- Cut ribbon to the length of your chandelier loop, plus a little extra for tying.
- Tie canes and mini ornaments onto the ribbon at even spaces.
- Loop the ribbon carefully around the chandelier arms. Secure the ends with a simple knot or bow.
- Safety: Keep decor well below any bulbs and ensure nothing touches the lights. If your bulbs get hot, hang the garland lower and away from the center cluster.
- Styling: Repeat the same ribbon on napkin rings to match the table. A small bow on the end of each ribbon tail looks polished.
I love using two ribbon widths for depth. Thin red satin and a touch of white grosgrain feels fresh and bright. Kids can help tie the ornaments, which makes it extra special!
Style, Safety, and Smart Savings Tips
I love pretty details, but I love easy too. These tips keep your table cute, safe, and budget friendly without extra stress. If you want candy cane centerpiece ideas that last through parties and playdates, this is how I do it at home with three little helpers!
Keep Candy Shiny, Not Sticky
Glossy candy looks fresh in photos and holds up longer on the table. I always start with wrapped canes and leave the wrappers on, since that keeps the shine and blocks moisture.
- Buy wrapped canes and keep the wrappers on. If a wrapper corner peeks out, trim it clean with scissors.
- Store extras in a cool, dry spot. I add a small food-safe desiccant pack to the bin so the candy does not get tacky.
- Fix loose wrapping with a quick clear cello sleeve. Slide it over, tie with twine, then snip the tail ends tidy.
- Greens need care. Refresh real greens once a week with a fresh snip and water nearby, or swap to faux stems right after the party for zero mess.
Quick check I use:
- If candy feels soft, it needs a drier spot.
- If greens droop, I switch to faux for the week.
A tiny step like a cello sleeve makes a big difference. Everything looks crisp, and your centerpiece still feels edible even if no one touches it.
Pet and Toddler Safety Checks

I decorate like my boys and the dog are already on the move. That mindset keeps the table pretty and peaceful.
- Choose LED candles near candy decor. No heat, no drips, no worry.
- Keep tall pieces centered so little hands cannot reach hooks or toppers.
- Skip glass in reach zones. I use plastic vases or thick acrylic if the centerpiece might get bumped.
- Allergy heads-up. I remind guests that the candy is peppermint, and I keep all edible decor wrapped. It looks neat and protects kids with allergies.
Extra habits that help:
- Set timers on LED candles so they click on right before dinner.
- Add a small dot of museum putty under wobbly items to steady them.
Safety does not have to dull the shine. It just lets everyone relax and enjoy the sweet details.
Budget and Sourcing That Stretch Your Dollar
I like a luxe look without the price tag. Small smart choices add up fast.
- Buy in bulk. Bulk stores or Amazon multi-packs are the best. Split one set across centerpieces, cocoa bars, and favors.
- Shop the calendar. Early November has the widest color choices. The week after Christmas is when I stock up for next year at deep discounts.
- Mix high and low. Dollar store basics with one or two nice ribbons look rich. A single satin or velvet bow can elevate a whole setup.
- Create a labeled bin. I keep a small bin marked Candy Decor. It holds canes, ribbons, bows, picks, and extra cello sleeves, which makes setup faster the next time.
Sample stash I keep ready:
- Red and white canes, mini and standard.
- One roll of quality ribbon, one value roll of twine.
- A few faux cedar picks.
- Spare cello sleeves and tags.
With a simple bin and a plan, you can style three tables without a new store run. That is my favorite kind of win.
Cleanup, Storage, and Reuse
After the last cookie tray, I do a quick reset so next year is a breeze.
- Compost real greens and recycle cardboard. Clear surfaces fast so glitter and faux snow do not spread.
- Toss any unwrapped candy used as decor. Save wrapped candy in a sealed bin for crafts only, not for snacks.
- Wrap fragile builds in tissue and store upright in a box. Add a label so you can grab it in seconds next season.
- Snap a phone photo of each setup. I keep a small album called Centerpieces. One glance, and I can recreate it in minutes.
Storage checklist I follow:
- Wipe vases and trays with a damp cloth.
- Coil lights and tuck batteries in a zip bag.
- Seal candy in a dry bin with a desiccant pack.
A tidy wrap-up means less waste and a faster start next year. You will thank yourself when the first invite pops up and your table is party ready in no time!
Conclusion
From quick jar bundles to tall showpieces, these candy cane centerpiece ideas keep the holidays sweet, simple, and fun with kids in the mix. I love that a few canes, a ribbon, and a sprig of green can pull a table together fast. Keep wrappers on for shine, choose LED for safety, and let the magic feel easy. The heart of it all is family-first decorating that invites little helpers and big smiles.
Pick one speedy idea for tonight, then plan one showstopper for the weekend. Keep it playful, reuse what you have, and spend your time around the table, not fussing with glue. I would love to see what you make. Share photos or your favorite tweaks, moms, so we can cheer you on and trade tips.
Thanks for being here and keeping the season cozy with me. Let’s make the table sparkle!
This post may contain affiliate links. Read the full disclosure here.