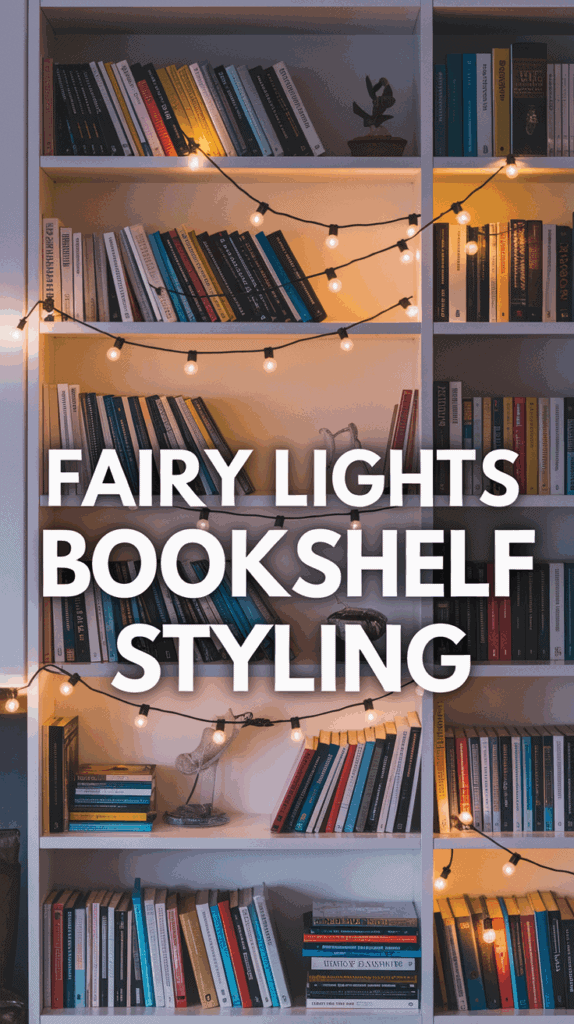
Fairy Lights Bookshelf Styling for a Soft Seasonal Glow
Hi there, fellow moms! If you’re dreaming of that soft, magical feeling in your living room, adding a fairy lights bookshelf is my absolute favorite (and kid-approved) way to get it! I love how the gentle glow makes story time feel extra special and lets our whole space feel warm and cozy, especially with three energetic boys running around!
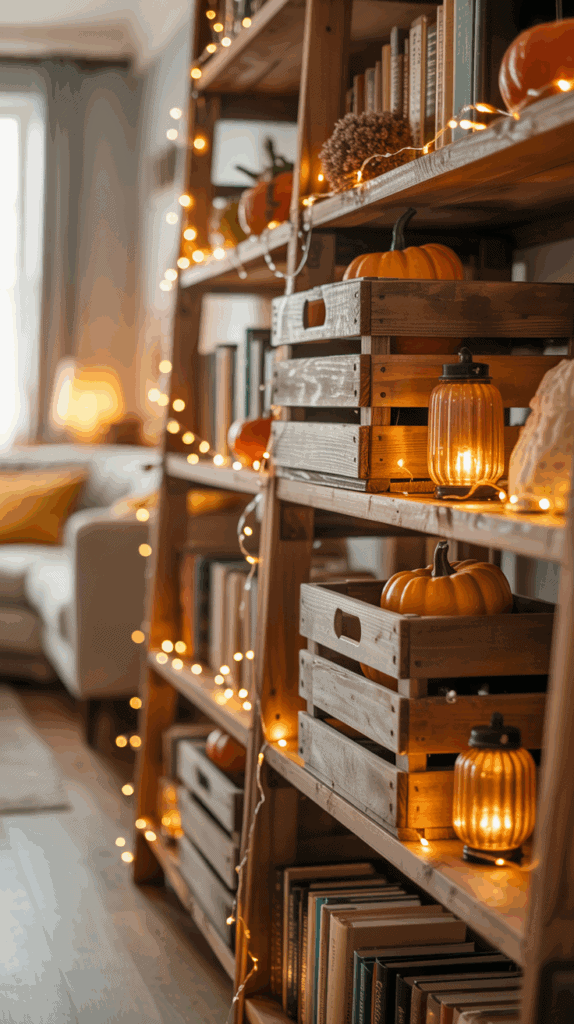
I added these fairy string lights to my shelves — now everything feels cozy and magical.
It’s super easy, quick to set up, and safe with little hands (trust me, we’ve tested every spot and plug). Even better, it’s fun for the kids to help out—turning on the lights becomes a little ritual that they look forward to every season. Let’s bring some of that charming, twinkly comfort home, while keeping things simple for busy families like ours!
Why Fairy Lights Are Perfect for a Family Home
There’s just something about the gentle twinkle of a fairy lights bookshelf that makes any family night feel a little more magical! I always say, if you want your space to feel cozy and cheerful, fairy lights are the way to go, especially if you have young kids at home. They’re safe, simple, and surprisingly affordable, and my boys absolutely light up (pun intended!) when we add them to our reading nook or playroom. Let’s talk about how you can use them to create a warm, inviting space for your family while keeping safety and savings in mind.
Safety First: Choosing the Right Lights

As much as I love a soft, glowing bookshelf, nothing comes before safety in our home. With three busy boys, I’ve learned to be picky about which fairy lights we use and how they’re set up.
Here’s what I do to keep our setup kid-friendly:
- UL‑listed, low‑voltage options: Always pick fairy lights that are UL‑listed. This safety certification means the lights meet strict rules for household use. I also choose low‑voltage strands because they stay cool to the touch, which is a big deal when curious little hands are nearby.
- Secure cords and plugs: I use clear command hooks to route cords so they’re up high and hidden along the back edge of the bookshelf. This keeps the area tidy and keeps the boys from pulling or tripping (trust me, it’s a lifesaver).
- Timer plugs: Plugging fairy lights into a timer gives me so much peace of mind. The lights turn off on their own, even if I forget, which means no worrying late at night.
Quick checklist for safe fairy lights bookshelf fun:
- Only use UL‑listed lights indoors
- Pick LED, low‑heat models for shelves
- Secure or tape down cords, away from small kids and pets
- Add timer plugs so lights never stay on too long
Energy‑Efficient Choices

I spend a lot of time thinking about our power bill, especially as the boys find “better and better” spots for more lights! That’s why I made the switch to LED strands.
Here’s why LED fairy lights are my go‑to:
- Lower cost to run: LEDs use about 80% less power than old‑fashioned incandescent bulbs. I can keep the fairy lights bookshelf glowing every evening and still feel good about our energy use.
- Cool to the touch: LEDs are almost always safe, even after hours of use. Incandescent bulbs get hot and aren’t safe for little kids to handle.
- Great battery life: If you use battery-operated fairy lights, LEDs last way longer. I find myself swapping batteries less often, which saves both money and effort.
Here’s a quick comparison:
| Bulb Type | Energy Use | Heat | Average Lifespan | Battery Life |
|---|---|---|---|---|
| LED | Very low | Cool | 25,000+ hours | 1-2 months (daily use) |
| Incandescent | High | Hot | 1,000 hours | A few days (daily use) |
Tip: I buy battery packs with built-in timers for even more convenience!
Kids’ Reaction and Involvement

The real magic? Watching my boys get excited and want to help. The fairy lights bookshelf isn’t just cute—it’s a family project that brings everyone together.
Here’s how I let my kids join in:
- Wrapping the shelves: I show them how to drape the lights and let them “test” light placement. Sure, things get silly, but it’s a fun memory.
- Picking light styles: Sometimes I buy color-changing fairy lights or warm white. I’ll let each boy pick a color or pattern for the week.
- Making it a tradition: Every season, we “redecorate” the fairy lights bookshelf. The boys hunt for the switch and practice turning it on at reading time (and maybe sneak a superhero action figure into the display—always a hit).
- Create your own fairy houses or paper lanterns: We sometimes add homemade paper crafts or little fairy houses beneath the lights. This totally amps up the cozy factor and lets their creativity shine.
Not only do they feel proud to help, but having their input means everyone loves the finished look. Every time a friend visits, the boys want to show off “their” lights. For us, it’s not just about decor—it’s about making family time bright and full of little, happy moments!
Planning Your Bookshelf Layout

Once you’re excited to add a fairy lights bookshelf to your space, the real fun begins! This is the moment where you get to play designer and puzzle-solver at the same time (with a little help from your small assistants if you have kids around like I do). Trust me, taking a little time to plan out where your books, fairy lights, and other cozy treasures will go saves you a ton of rearranging later. Plus, it means every shelf gets that soft seasonal glow exactly where you want it. Here’s how I map everything out to make sure our bookshelf stays sweet, safe, and full of cheerful sparkle.
Measuring and Mapping
It might sound simple, but starting with a good measuring tape changes the whole process. First, I measure the total width and height of the bookshelf. I even jot down the length of each shelf, just in case they’re different (our main bookshelf is shaped a little like a friendly monster, so every shelf has its own size).
Here’s my quick run-down for getting those measurements right:
- Grab your tape measure: Write down the bookshelf’s width, height, and the depth of each shelf.
- Note shelf spacing: If your shelves are adjustable, decide if you want to move them for taller books or decorations.
- Think about lights: I always look at how long my fairy lights strand is before I start. That way, I can plan if I want to run the strand across just the front of each shelf, tuck it behind books, or drape it along the sides.
- Sketch a quick layout: I draw a simple rectangle on scrap paper for each shelf and sketch where I want the fairy lights to loop or twinkle. My youngest likes to help at this stage, and usually draws smiley faces all over my plans!
Measuring ahead makes it much easier to figure out if your fairy lights bookshelf will glow on every row or if you’ll spotlight just your favorite shelf. Plus, you’ll figure out where to tuck cords so they stay hidden and safe from curious little hands.
Balancing Light and Books
If your bookshelf is anything like ours, it’s packed with chapter books, chunky board books, and a few favorite stuffed animals. The trick is to find the best way to show off your collection while still letting the fairy lights shine. I love a fairy lights bookshelf look that’s soft and cozy—not a bright spotlight on just one shelf. Here’s what’s helped in my own home:
- Space the lights loosely across the front or top of shelves, instead of wrapping tightly behind every book. This way, the books can “peek out” while still catching the gentle glow.
- Avoid hiding covers. When fairy lights tuck too far behind the books, the light can actually make it hard to see titles or grab a bedtime story in a hurry.
- Combine upright and stacked books. I like stacking a few books horizontally in the corners for variety, and then draping short strands of fairy lights on top of those piles.
- Add accent corners. Place a cozy reading chair or bean bag close to the brightest side of your fairy lights bookshelf. The light will naturally spill over, creating a comfy corner for story time.
If your kids like to help arrange, let them pick a shelf or two for their “reading treasures” and frame those with extra lights. It’s simple, it feels special, and it makes every bookshelf look a little more magical.
Seasonal Themes and Color Choices

One of my favorite parts of building a fairy lights bookshelf is picking a color scheme that matches the season. It’s such an easy way to refresh your space, and the right colors make everything look extra cheerful. Here’s what has worked best for our family (with lots of input from the kids, of course):
- Warm white lights: Perfect for that gentle, soft glow that makes bedtime feel peaceful and safe. I use these most of the year because they go with everything and never feel too bright for tired eyes.
- Pastel colors: Think soft pink, blue, or mint. These are a big hit in spring, especially with paper flowers or little bunny figurines. The boys love switching to pastel lights after winter ends because it makes the whole room look new.
- Gold lights: These are a must-have during the winter holidays, especially if you have holiday books or ornaments displayed on your shelves. The gold light looks rich and cozy and goes well with green or red decorations.
Below is a quick reference for picking the best fairy lights bookshelf colors by season:
| Season | Recommended Colors | Best for… |
|---|---|---|
| Fall/Winter | Warm white, gold | Cozy, calm, holiday glow |
| Spring | Pastel pink, blue, mint | Fresh, playful, light and airy |
| Summer | Soft white, pale yellow | Bright, sunny, cheerful |
If your kids want to help, let them vote on light colors each season! It keeps everyone involved and makes the whole fairy lights bookshelf setup feel like a family tradition.
No matter which colors you pick, changing up the lights is a quick, affordable way to give your living room a new mood again and again.
Easy Installation Tips for Busy Moms
Setting up fairy lights bookshelf style can feel tricky when you’ve got kids to chase and a million other things on your to-do list. But don’t worry, it’s actually pretty simple once you have the right tools and a good plan in place. With a few easy steps, you can get those twinkling lights up safely and quickly so your whole family can enjoy that soft seasonal glow. Here’s how I make the process smooth, even when juggling three little helpers!
Gathering Simple Tools
Before you start, it’s best to round up a few basic items. You don’t need anything fancy, just a few everyday things that’ll make hanging your fairy lights bookshelf easy and secure:
- Zip ties (great for bundling cords neatly)
- Command strips (these keep cords stuck without damaging walls or shelves)
- Small screwdriver (for tightening any screws or adjusting little brackets)
- Step stool (so you can safely reach the higher shelves without stretching or wobbling)
Having these tools on hand means you’re ready for whatever arises mid-project. Plus, command strips and zip ties are quick and mess-free solutions, which matters so much when time is short and the kids need your attention.
Step‑by‑Step Installation
Here’s my go-to process for safely and quickly installing fairy lights on a bookshelf. Each step is simple enough to follow, and you’ll have your soft glowing space up in no time.
- Unplug the lights before you start. It sounds obvious, but safety first, especially around curious little hands.
- Attach the base of the lights to the back or edge of the bookshelf. I like using command strips here because they hold strong but peel off without damage later.
- Drape the lights loosely along the shelves or weave around books and decorations. Keep the strands relaxed to avoid tugging or stress on the wires.
- Secure cords with zip ties or more command strips to keep cords neat and out of reach from your boys. This also prevents tripping or accidental unplugging.
- Test the lights once everything is attached. Plug them in, enjoy the glow, and tweak placement as needed for that perfect cozy vibe.
This straightforward method saves time and prevents frustration. Once you get the hang of it, installing a fairy lights bookshelf becomes a fun, stress-free routine.
Involving Your Boys
Kids love being part of decorating, and including them makes the fairy lights bookshelf an even bigger hit. Of course, safety is key, so I find ways to let the boys help without putting them near plugs or sharp tools.
Here are some fun and safe ways to get them involved:
- Hand out clips or command strips to stick onto the shelf edges. They love “holding the pieces” even if I’m doing the actual attaching.
- Let them pass along the fairy lights strands while I weave or place them. It keeps them busy and excited without any hazards.
- Assign them a “lights tester” job where they flip switches once the setup is done. It’s their special moment to make the bookshelf glow.
With these little roles, the fairy lights bookshelf setup becomes a team event. The boys feel proud they helped, and I get a safer, quicker installation without distractions or worry. After all, turning on the lights together is a soft seasonal glow moment everyone looks forward to!
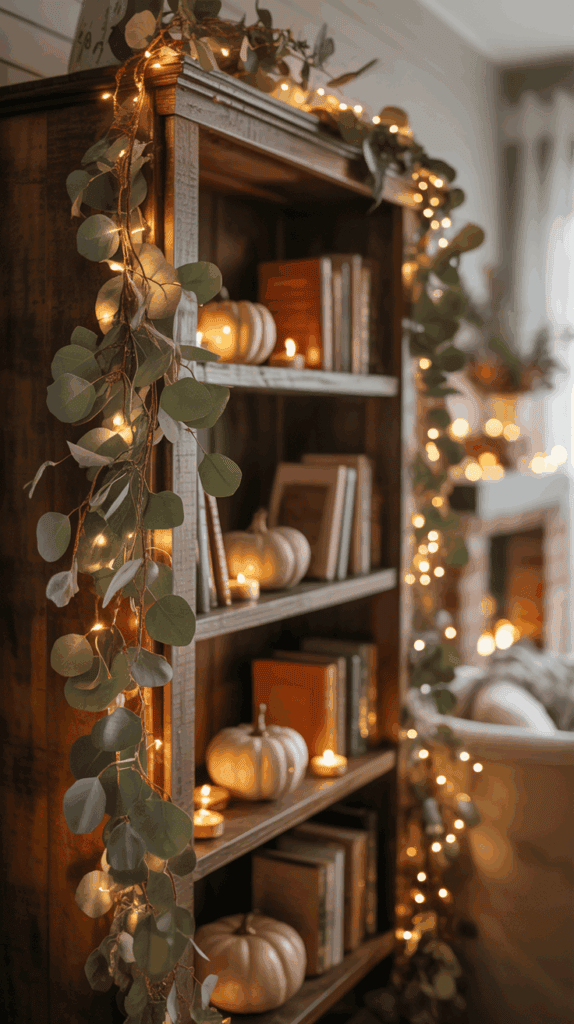
Styling Ideas for a Soft Seasonal Glow
Creating that gentle, warm glow around your fairy lights bookshelf can completely transform your space into a snug, inviting haven for the whole family. I find that mixing soft textures, a little holiday cheer, and natural details helps bring out the magic of those twinkling strands, making the whole room feel like a comforting hug. It’s not just about lights—it’s about the atmosphere they help create. Here’s how I style our space to catch that soft seasonal glow perfectly.
Cozy Reading Nook
One of my favorite ways to complement the fairy lights bookshelf is by building a cozy reading nook nearby. Think about a corner with lots of comfy pillows in different textures—velvet, cotton, or even some fluffy faux fur. I always add a small rug underneath, something soft and cushy so the kids can sprawl out without cold floors bothering them.
Then, I mix in a lamp with a dimmer switch or soft warm bulb. This gentle light balances perfectly with the fairy lights, so the whole space glows just right for bedtime stories. It’s a small setup, but it feels like a private little world for reading and relaxing after busy days.
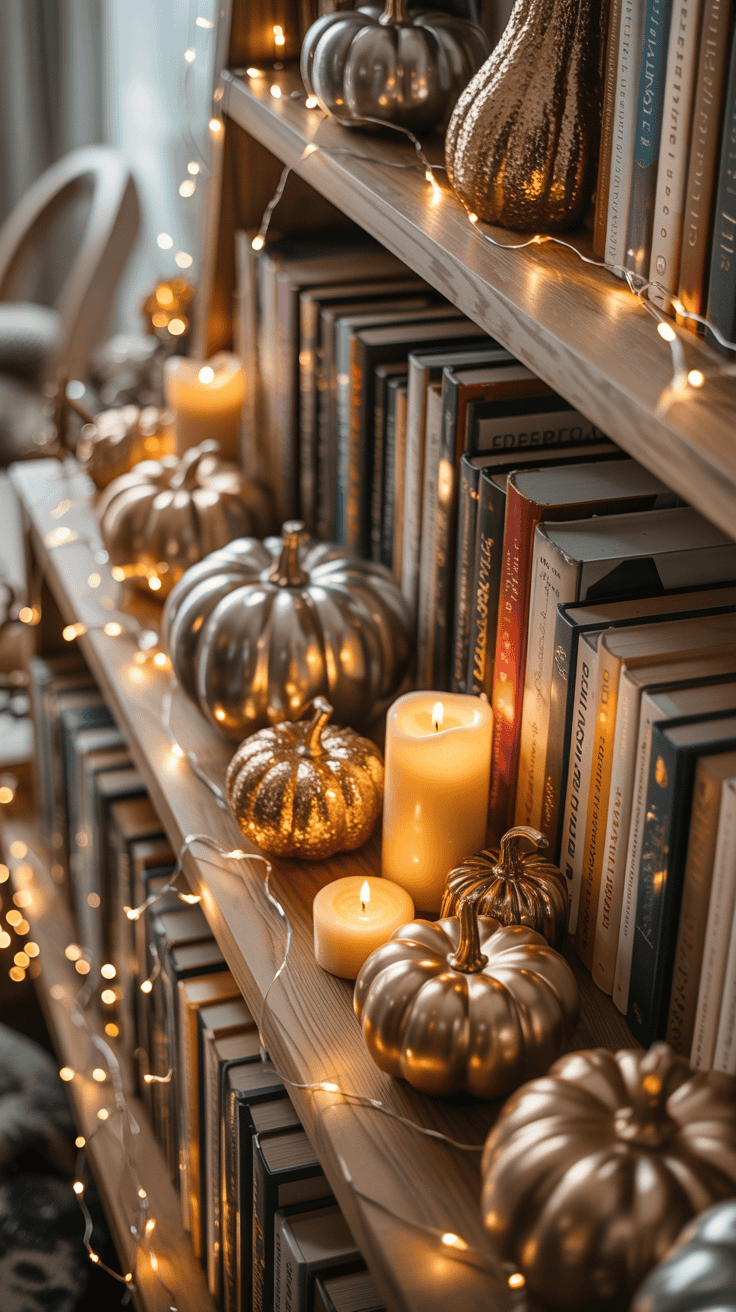
Holiday Touches
Once the basics are set, I like to sprinkle in some seasonal touches that make the space feel alive and festive. Around the Christmas holidays, I tuck in a few pine cones on the shelves or scattered among the fairy lights. They add a rustic, natural vibe that softens the twinkle.
Mini ornaments are always a hit with my boys—they love spotting their favorite shapes hanging gently on the bookshelf corners or nestled in between books. Adding a few battery-operated scented candles (safety first!) fills the air with cozy scents like cinnamon or pine. These little details bring that warm holiday spirit right into our family space without clutter or hassle.
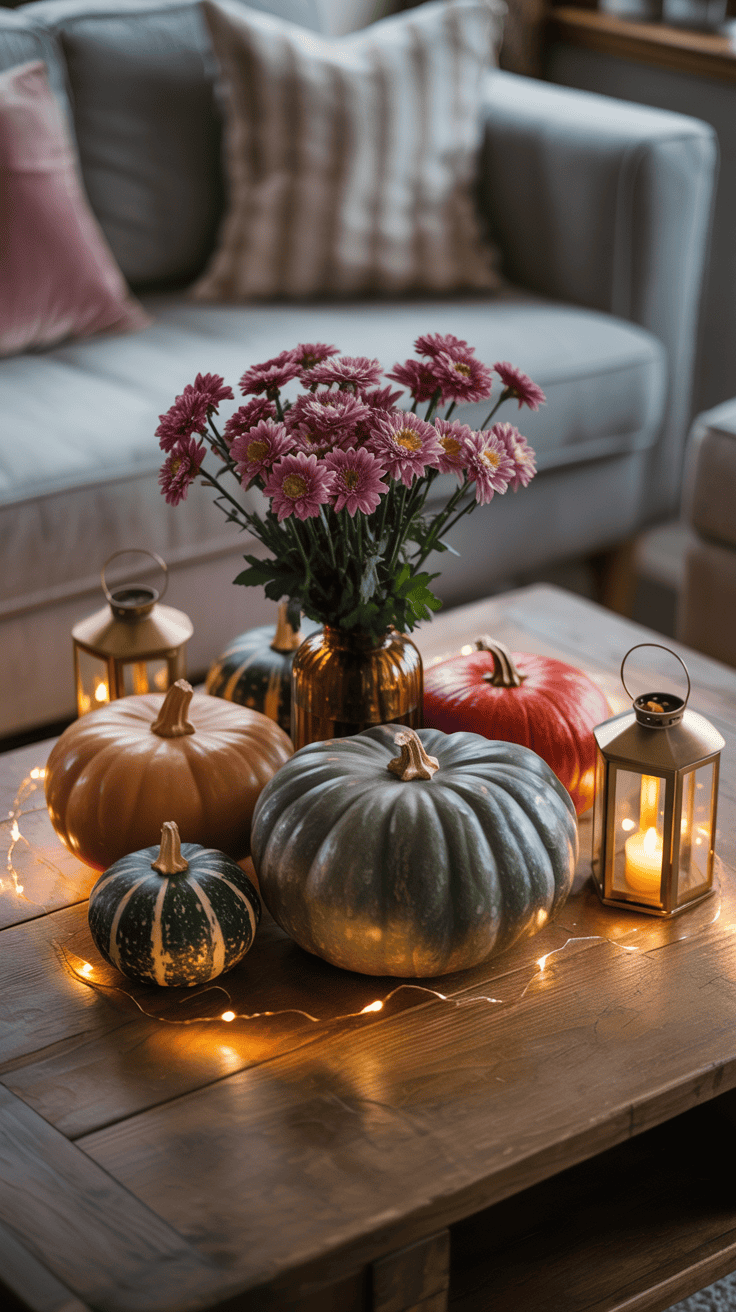
Nature‑Inspired Accents
Nature has a way of calming any room and softening light, so I like to include small green plants or dried floral accents near the fairy lights bookshelf. Little potted succulents are perfect because they’re low-maintenance and add just the right touch of life and color. They don’t take over, but they quietly brighten the space.
Dried flowers in gentle pastel tones also work wonderfully. Placed in tiny glass jars or vintage vases, they catch the fairy lights’ glow in delicate shadows. It’s a subtle nod to the outdoors and keeps the room feeling fresh and effortless—exactly what a busy mom like me needs!
Maintaining the Glow All Year Round
Keeping your fairy lights bookshelf glowing beautifully all year is easier than you might think. With a few thoughtful habits, you can maintain that soft seasonal glow without stress, and avoid those frustrating moments when lights start flickering or stop working. Here’s how I care for our fairy lights so they stay charming and cheerful no matter the season.
Cleaning Without Damage
Fairy lights look best when they’re dust-free, but cleaning them can be tricky because those tiny bulbs and delicate wires don’t like water. I never use water directly on the wires—it can cause damage or short circuits, which is the last thing you want around curious little hands.
Instead, I grab a soft brush or a microfiber cloth to gently swipe away dust and crumbs. A clean paintbrush or a makeup brush works well for getting into nooks without tugging on the lights. I make it a habit to give them a little dusting every couple of weeks, especially during seasons when dust tends to settle faster, like winter.
Keeping it gentle preserves the wires and bulbs and keeps the glow soft and even. Plus, the kids love helping with this chore—it becomes a fun little ritual to “wake up the fairy lights” before we flip the switch at night!
Replacing Burnt-Out LEDs
Even the best LED fairy lights eventually need a little TLC, so knowing how to spot and replace burnt-out LEDs helps the magic last longer. I usually notice when one section is dimmer or if a strand flickers, which means it’s time to check closer.
Most LED fairy lights come in strands divided into shorter sections. If one section goes out, you can swap just that part instead of replacing the whole string. I keep a few extra strips and bulbs on hand for this reason—it saves time and money.
Here’s my quick routine for replacing LEDs:
- Unplug the lights for safety before handling.
- Identify the faulty section by looking for dark bulbs or testing with a small battery pack if available.
- Follow the manufacturer’s instructions to gently remove and swap the bulbs or strips.
- Test by plugging the lights back in before tidying up.
Having spare parts ready is a lifesaver during the busy holiday season, so I never run out of sparkle.
Seasonal Storage Tips
When it’s time to switch up your styles or pack away fairy lights for most of the year, storing them properly keeps them safe and ready to bring warmth back quickly.
I like to roll the strands loosely around a piece of cardboard or even my hand, never too tight to prevent bending the wires. Then, I tuck them into a zip-lock bag to keep out dust and moisture. Labeling the bag with the light color or length means I never have to guess when it’s time to unpack.
I store these bags in a cool, dry place—basements or closets away from direct sun or heat work perfectly. This simple storage method keeps your fairy lights tangle-free and bright season after season, which is great when you’re balancing a busy family schedule and want easy access to your cozy glow.
Taking care of your fairy lights bookshelf is about small habits that add up to long-lasting charm. This way, you can focus on those moments that really matter—like cozy family story time under that gentle, twinkling light!

Conclusion
A fairy lights bookshelf adds more than just soft light—it creates a warm, joyful spot where family memories happen. It’s simple to set up, safe for kids, and brings a cozy glow that brightens our busy days and quiet evenings.
I encourage you to try it out, let your kids join in the fun, and watch how it transforms your space. Share your photos and stories, too—I love seeing how other families make their cozy corners come alive.
This little touch turns ordinary shelves into a magical part of home life, and once you try it, you’ll wonder how you lived without it!
This post may contain affiliate links. Read the full disclosure here.