Halloween Garland With Lights for a Festive Touch
Halloween garland with lights is one of my favorite ways to bring a little extra magic into our home during the spooky season. Decorating with my three boys is always full of laughter and excitement, and adding twinkling lights to our garland makes everything feel cozy and festive!
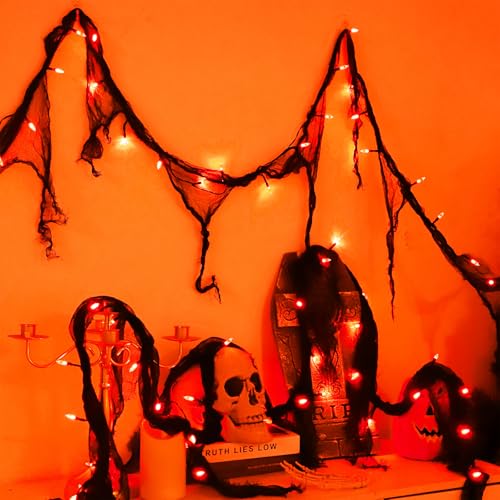
This light-up Halloween garland looks amazing draped over the banister or mantel — cozy yet spooky.
It’s simple and fun, and even the kids get to join in on the decorating.
A bright, playful garland sets the mood perfectly for Halloween parties or just enjoying the season together.

How to Choose the Right Halloween Garland With Lights

When it comes to picking the perfect Halloween garland with lights, you have options that fit every mood and budget. Whether you want something quick and ready to go or enjoy the fun of making it yourself, choosing the right garland sets the tone for your spooky season. I always think about how the garland will brighten our space and reflect my boys’ favorite Halloween themes, making the whole experience extra special.
Store-bought vs. DIY Garlands
Buying a ready-made garland with lights is a huge time-saver and often comes with charming designs that instantly catch your eye. The biggest plus is convenience: you unwrap it, hang it up, and you’re done. Many store-bought options include classic Halloween motifs like pumpkins, bats, or witches, and usually, the lights are already woven right in. This means less fuss and fewer chances for tangled messes.
But for me, DIY garlands have a special kind of magic. Making your own means you get to customize everything—from the colors to the little touches that reflect your kids’ favorite parts of Halloween. For example, my boys are wild about skeletons and spooky spiders, so I add tiny plastic figures to a simple greenery garland and wrap orange and violet LED lights around it. It’s playful, creative, and a great way to get the kids involved. Plus, handmade garlands can stretch your budget and bring a personal touch that’s hard to find in stores.
If you want to try it out, here are a few tips to make your DIY garland stand out:
- Pick a theme based on your kids’ favorite Halloween stories or characters.
- Use craft wire to secure decorations and lights firmly.
- Add layers like fabric strips, faux leaves, or small Halloween toys.
- Mix textures for a whimsical look—think soft cotton ghosts paired with shiny plastic pumpkins.
The best part about DIY is that no two garlands need to look the same, and you can make it as simple or as elaborate as you like.
Selecting Safe and Energy-efficient Lights

When decorating with kids, safety is something I keep at the front of my mind. Choosing the right lights for your Halloween garland means keeping things child-friendly and energy-smart. LED lights are a clear winner here. They stay cool to the touch (which is perfect when little hands want to help), they use very little power, and last much longer than traditional bulbs. That means no worrying about burned-out lights in the middle of Halloween night.
I also prefer battery-operated lights when possible. Without cords snaking around furniture and doorways, there’s less chance of someone tripping or pulling the garland down. Battery packs are usually compact and easy to hide behind the leaves or decorations on a garland, making the whole setup cleaner and safer.
When shopping or making your garland, remember:
- Look for lights with high safety ratings and certifications.
- Avoid any garlands that come with frayed or exposed wires.
- Choose cool-to-the-touch LED lights for peace of mind.
- Battery-operated sets allow you to place your garland anywhere without hunting for an outlet.
With a safe, bright, and energy-efficient garland, decorating becomes a worry-free part of the fun. Plus, the warm glow helps turn your space into a cozy Halloween haven that my boys and I can enjoy well past bedtime!
Creative Ideas for Decorating with Halloween Garland and Lights
Using Halloween garland with lights adds an instant festive glow that makes your whole home feel lively and fun during the spooky season. I love how such a simple addition can transform a room or porch into a warm, inviting space with just a few twinkling bulbs and some fun decorations. Whether indoors or outside, garlands are easy to hang and pair beautifully with many Halloween looks. Plus, they bring out the best smiles when the kids help out! Here are some of my favorite ways to make the most of lighted garlands.
Indoor Decorating Tips

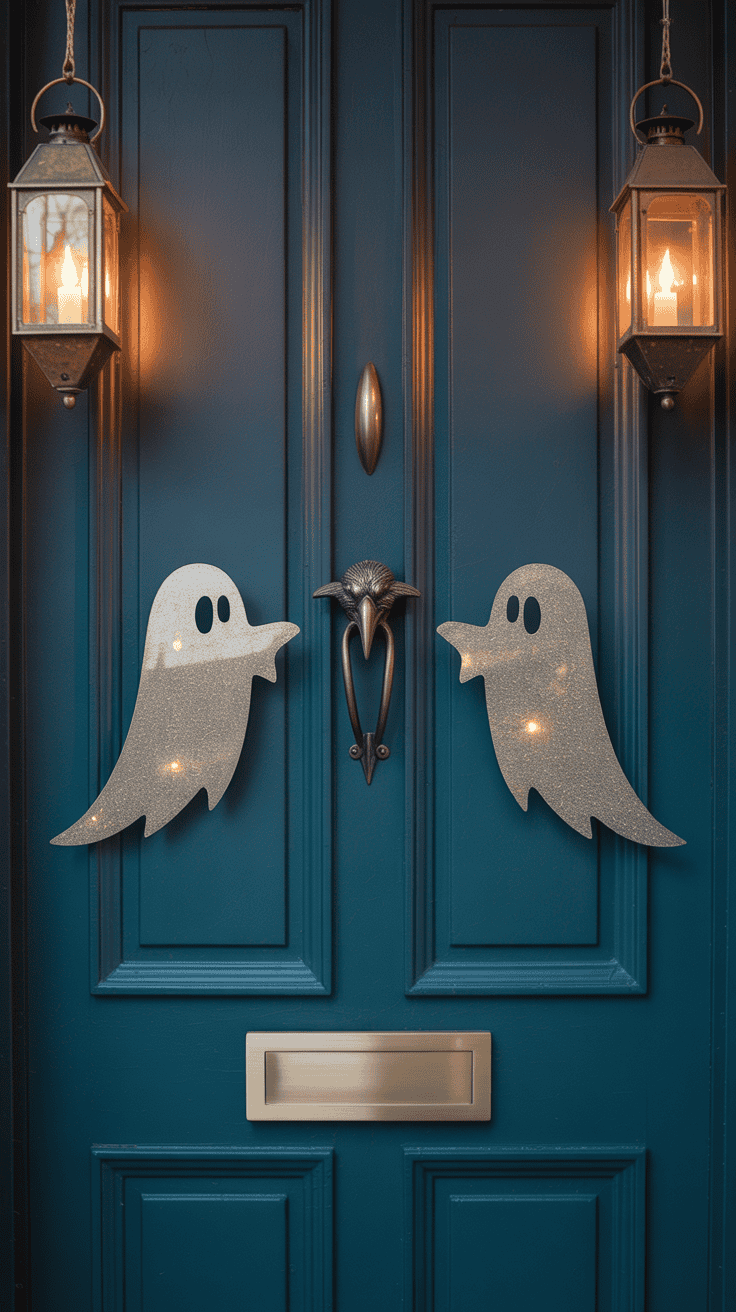
Inside your home, garlands with lights work wonders in adding just the right amount of Halloween spirit. I usually start by draping garlands around doorways, windows, or mantels where they catch the eye but don’t get in the way of everyday living. Here are some spots I recommend:
- Above door frames to welcome guests with a soft glow.
- Along stair railings for a playful path of light as you go up and down.
- Around mirrors and picture frames to add depth and a bit of sparkle.
- Suspended from curtain rods to frame windows with style.
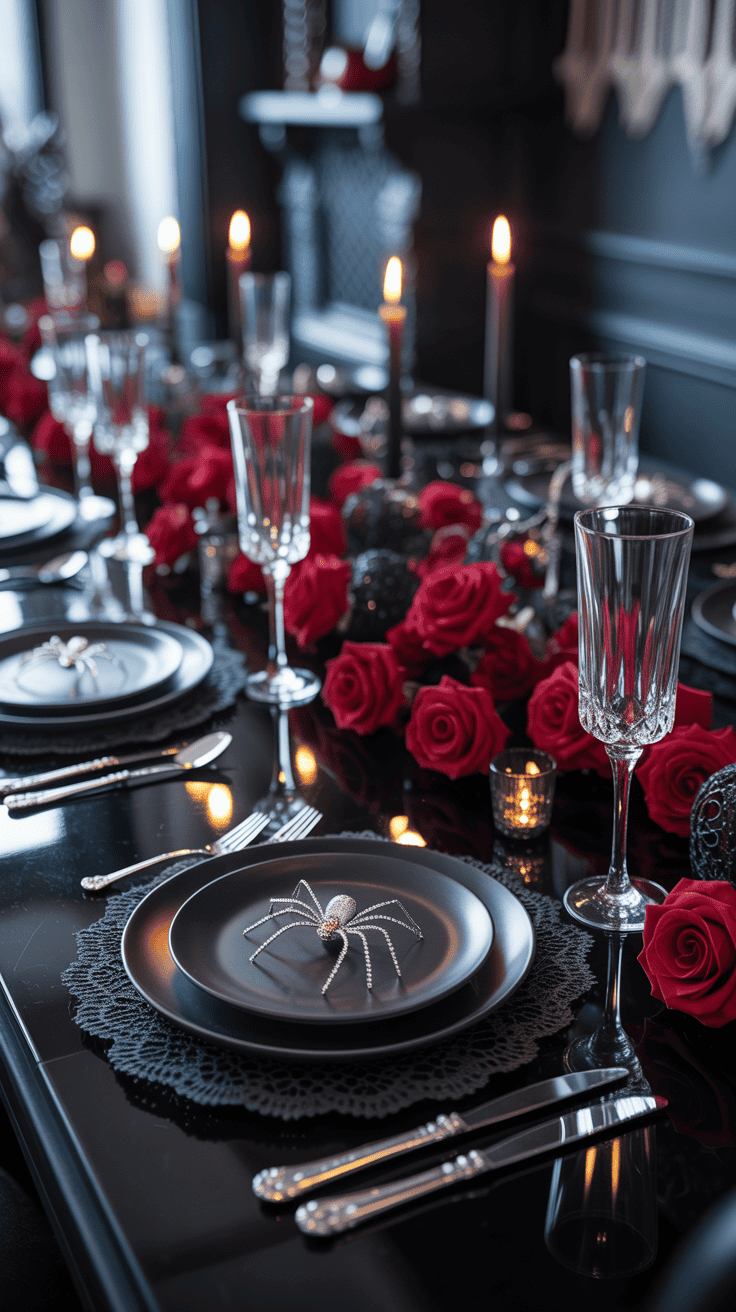
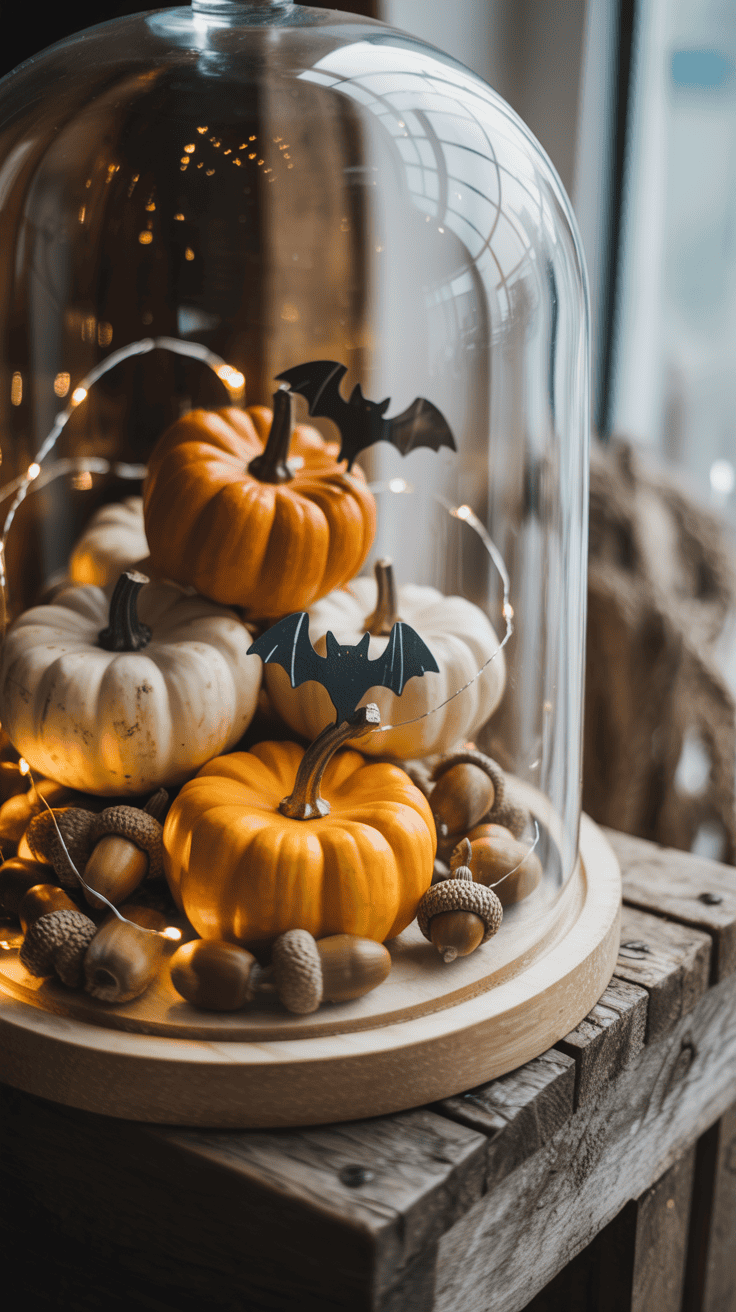
To make your display pop, I pair lighted garlands with other simple decorations. A few ceramic pumpkins or a bowl of candy add color and texture. If you like themes, try black and orange garlands with witch hats and bats or green garlands with little glowing eyes for a spooky forest vibe. The cozy orange or white lights’ warmth makes these combinations feel magical and inviting.
Outdoor Decorating Ideas

Outside, Halloween garland with lights is a quick way to turn ordinary spaces into something special and eye-catching. I love wrapping garlands around porch railings or hanging them along the front fence to define the yard with glowing Halloween cheer. Setting the tone for trick-or-treaters is easy this way, and neighbors always notice! Here’s how I use them outdoors:
- Twisting garlands along porch columns creates a bright, festive welcome.
- Strutting garlands across a fence to outline your yard with spooky light.
- Wrapping around tree branches adds a magical feeling to your outdoor space.
For a bigger effect, I add seasonal wreaths or pumpkins at intervals along the garland. Battery-operated sets work best here, keeping things neat and safe without messy extension cords. The soft glow makes the night feel friendly yet fun, lighting the way for little ghosts and goblins.
Involving Kids in the Decorating Fun: Mom-Approved Ways to Include Kids in Hanging Garlands Safely and Letting Them Add Their Personal Touches
Nothing beats decorating with kids! The lights and colors get them excited to help, and including them makes memories I cherish every year. When my boys help with hanging garlands, I keep safety front and center by using battery-operated lights and placing decorations within easy reach. Here are some kid-friendly ways to involve little helpers:
- Let kids help unroll and hold garlands while you hang them at safe heights.
- Give them lightweight decorations like paper bats or foam pumpkins to clip on.
- Use sticky hooks or removable clips so no nails or ladders are needed.
- Encourage kids to add their own touches like stickers or homemade paper ghosts.
The kids enjoy seeing their work light up the room, and it sparks their creativity. It’s fun to hear their ideas for where garlands should go next, and they feel proud each time someone admires the glowing Halloween setup. Involving them turns decorating into an easy, joyful family tradition.
Using Halloween garland with lights around your home makes decorating simple and joyful. Whether indoors, out, or with your kids, these glowing strands are a festive crowd-pleaser that every family can enjoy!
DIY Halloween Garland with Lights: Step-by-Step Guide

Making your own Halloween garland with lights is such a fun way to add a personal touch to your Halloween decorations. I love getting my boys involved and seeing their eyes light up just like the garland itself! It’s easy, budget-friendly, and you get to customize every little detail. Here’s how I put together a glowing Halloween garland that feels festive and warm, perfect for any corner of the house or porch.
Materials Needed
Before you start, gather all your supplies so you don’t have to hunt for things halfway through—believe me, it makes the whole process smoother! Here’s what I usually work with:
- Garland base: I like using faux greenery garlands (they’re reusable and sturdy) or black/orange fabric garlands for a more Halloweeny vibe.
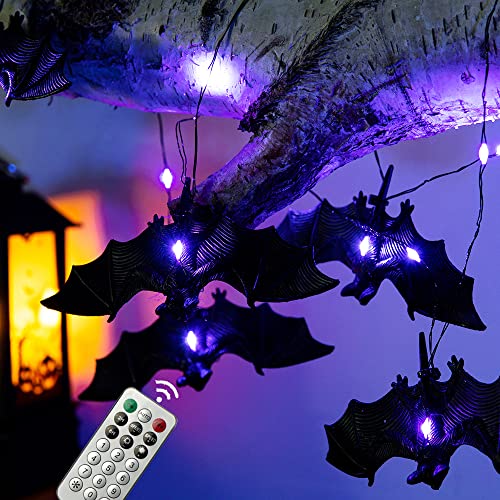
- Lights: Battery-operated LED string lights are my go-to. They stay cool, so the kids can help out safely, and having no cords keeps things tidy.
- Decorations: Mini pumpkins, bats, spiders, skeletons, felt ghosts, and plastic spiders work well. Look for lightweight items so they don’t weigh down the garland.
- Craft supplies: Clear craft wire or green floral wire to fasten decorations and lights securely; hot glue gun for attaching tricky pieces; scissors and wire cutters; and removable hooks or command strips for hanging.
- Extras: Ribbon or tulle in black, orange, purple, or white to wrap around the garland and add volume or texture.
With these on hand, you can mix and match to create a garland that’s just right for your family’s style.
Assembly Instructions
Once you have your materials ready, putting it together is straightforward—and a great project when the kids want to help! Here’s my step-by-step method:
- Lay out your garland base on a flat surface. This makes it easier to attach everything and see how your design will flow.
- Wrap the battery-operated string lights evenly around the garland. Start from the battery pack end, securing the pack near one end of the garland to hide it behind leaves or decorations later.
- Use floral wire or craft wire to fasten the light string every few inches. This keeps it snug without crushing your garland base.
- Attach your decorations, spacing them out nicely. Wrap wire around heavier items like mini pumpkins, or use a hot glue gun for lighter felt or paper pieces.
- Add ribbons or tulle by weaving them through the garland or tying bows along the strand. This adds movement and softness to balance the shapes.
- Secure any loose parts and tuck extra wires or battery packs behind the garland for a clean look.
- Hang your garland using removable hooks or command strips, making sure it’s well supported and out of reach of small kids if necessary.
Safety tip: Make sure your lights are rated for indoor use if you plan to hang the garland inside. For outdoor use, look for weatherproof lights. Always check for frayed wires or broken bulbs before use.
Personalizing Your Garland
The best part of DIY is making it your own! Here are some ideas I’ve tried and loved to bring out the unique Halloween spirit in our home:
- Add names or words: Small wooden letters or felt cutouts spelling “Boo!” or the kids’ names add a special touch.
- Theme it to your kids’ favorites: If your kids love spiders, build a garland mainly decorated with spider webs, tiny spider figurines, and black lights. For pumpkin fans, scatter mini pumpkins and orange fairy lights throughout.
- Use nature’s harvest: Tiny faux pumpkins, dried fall leaves, and pinecones make the garland feel warm and seasonal.
- Attach small toys or figures: Little witches, skeletons, or bats clipped onto the garland bring playfulness and charm.
- Try unusual twists: Add feathers or glow-in-the-dark stars for a surprise element when the lights dim.
Don’t worry about keeping it perfect—messy and whimsical is charming! My boys get a kick out of finding their favorite decorations hidden along the garland, and changing things up each year keeps the tradition fresh and exciting. With a few simple touches, your garland becomes more than decoration; it’s a little piece of Halloween joy made just for your family!
Keeping Your Halloween Garland With Lights Bright and Tidy

A glowing Halloween garland with lights brings so much charm and warmth to our Halloween decorations, but like any favorite decoration, it needs a little care. Over the season, lights can flicker or decorations might loosen, which happens easily when kids are involved (trust me!). Taking time to maintain your garland and store it properly means it will be ready to shine again next year. Here’s how I handle the upkeep with three busy boys creating lots of excitement around our Halloween setup.
Troubleshooting Common Issues

When a few lights go out or decorations start slipping, it’s tempting to just toss the garland aside. Instead, I’ve found a few simple fixes that keep things looking fresh and bright:
- Fixing lights that go out: First, check the battery pack or plug to make sure the power source is secure. If it’s battery-powered, replacing the batteries often solves the problem quickly. Sometimes, bulbs can be loose—gently press or twist each bulb to see if it helps. If your string uses replaceable bulbs, keep extra bulbs on hand when you buy your lights.
- Securing loose decorations: All that fun from kids means decorations can pull loose. I use extra craft wire or little zip ties to clip things back in place firmly. If you’ve glued some decorations, a quick dab of hot glue (but careful of fingers!) can make them stay put for the whole season.
- Keeping battery packs safe and functional: Battery packs are easy to lose or damage if not tucked away well. I always fasten the pack securely to the garland with wire or sturdy tape. Placing them behind leaves or decorations helps keep them out of reach of little hands and protects them from getting crushed or wet if you’ve used the garland outside.
These small repairs don’t take long and save the energy and money of buying a new garland, plus the kids see how we care for our decorations as part of our Halloween tradition.
Storage Tips

Once Halloween wraps up, I want my garlands and lights ready to pull out next October with no hassle. Proper storage is the key to that, and I’ve learned a few tricks along the way to keep everything safe and tangle-free:
- Use a sturdy box or storage container: Choose something with a lid that can hold your garland without squishing decorations. A plastic bin is great because it protects from dust and moisture.
- Wrap your string lights carefully: To stop the wires from tangling, I wind the lights around a piece of cardboard or a spool. This prevents knots and bulb damage. Avoid stuffing lights loosely into a bag—that’s a sure way to end up with a mess next year.
- Protect delicate decorations: For meltable or fragile decorations like paper ghosts or foam pumpkins, I wrap them individually in tissue paper or bubble wrap before putting them back in the box. The last thing you want is broken items when you unpack.
- Label your storage box: Yes, it’s the little things. Labeling the box “Halloween Garland With Lights” helps when you’re digging through seasonal decor next year. You won’t have to open every box to find them.
- Store in a cool, dry place: Avoid basements or attics that get damp or super hot. Moisture can damage electrical parts and cause mold on fabric decorations. A closet with steady temperature works best.
A little effort in storage pays off big when you can just unwrap your garland and put it up again with no fuss. Keeping it neat and safe keeps the Halloween spirit going year after year, and my boys get excited every time we find their favorite spooky decorations waiting to glow again!
Taking care of your Halloween garland with lights is easy, and knowing these simple steps has kept our decorations looking wonderful through seasons of fun. It’s all about small habits that save time and frustration, keeping your garland a shining part of your family’s Halloween for many years!
Conclusion
A Halloween garland with lights is such an easy way to add warmth and fun to your seasonal decor. Whether you choose a store-bought option or make your own, the soft glow and playful designs bring a welcoming spirit to any room or porch.
I love how this simple addition gets my boys excited to decorate and helps create those sweet family moments that last. Give it a try this year, and watch how a little sparkle turns your home into a festive celebration everyone will enjoy.
Thanks for joining me on this Halloween decorating journey! I’d love to hear how you add your own personal touch to your garlands—drop a comment and share your ideas!
This post may contain affiliate links. Read the full disclosure here.